How to add Image Button in Flutter
Images are an important part of a mobile app user interface. Sometimes, you want to add button functionality to an image so that you can take action when the image is pressed. In this Flutter tutorial, let’s learn how to add a Flutter image button.
Even though there are multiple button widgets in Flutter, it doesn’t have a dedicated image button. But no worries, you can make the image clickable using the Inkwell class and its property onTap. We also use Ink.Image constructor to add the image.
See the code snippet given below.
InkWell(
            onTap: () {},
            child: Ink.image(
                width: 300,
                height: 200,
                image: const NetworkImage(
                  'https://cdn.pixabay.com/photo/2022/12/02/14/13/desert-7630943_1280.jpg',
                )),
          ),
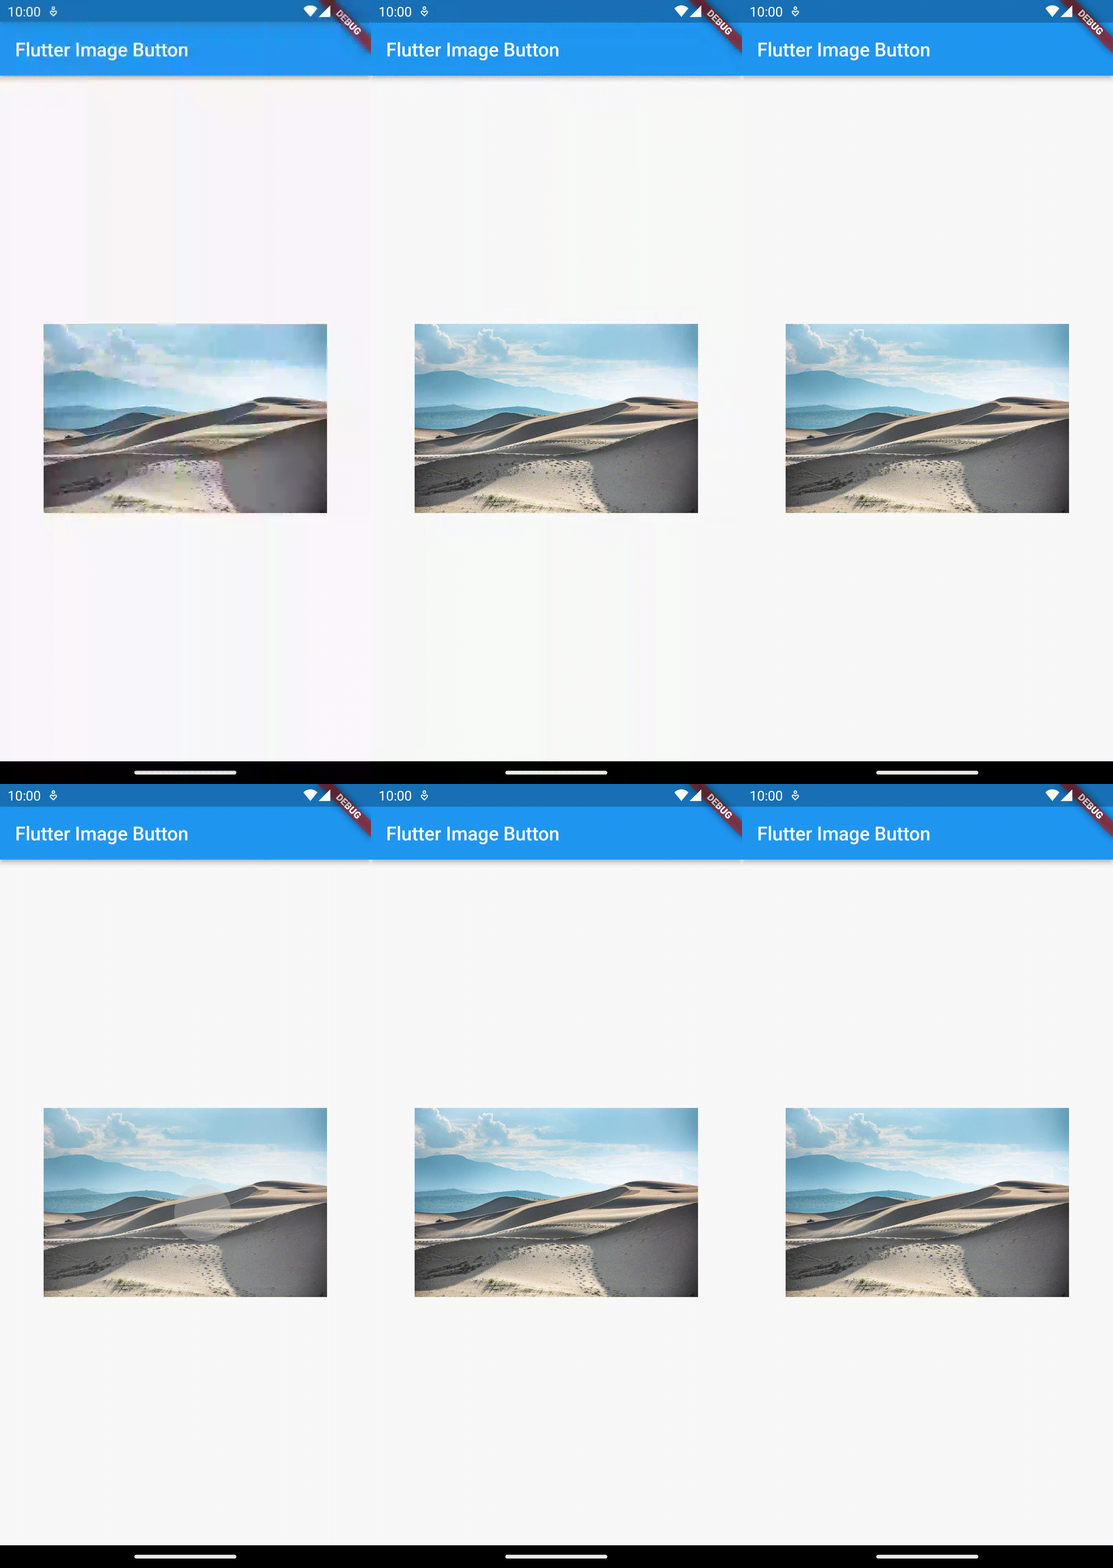
We used NetworkImage to load an image from the URL. A ripple effect is shown when the image is pressed.
Following is the output of the Flutter Image button example.

Following is the complete code for reference.
import 'package:flutter/material.dart';

void main() {
  runApp(const MyApp());
}

class MyApp extends StatelessWidget {
  const MyApp({super.key});

  // This widget is the root of your application.
  @override
  Widget build(BuildContext context) {
    return MaterialApp(
      title: 'Flutter Demo',
      theme: ThemeData(
        primarySwatch: Colors.blue,
      ),
      home: const MyHomePage(),
    );
  }
}

class MyHomePage extends StatelessWidget {
  const MyHomePage({super.key});

  @override
  Widget build(BuildContext context) {
    return Scaffold(
        appBar: AppBar(
          title: const Text('Flutter Image Button'),
        ),
        body: Center(
          child: InkWell(
            onTap: () {},
            child: Ink.image(
                width: 300,
                height: 200,
                image: const NetworkImage(
                  'https://cdn.pixabay.com/photo/2022/12/02/14/13/desert-7630943_1280.jpg',
                )),
          ),
        ));
  }
}
That’s how you add an image button in Flutter.


