How to add Border to Floating Action Button in Flutter
A Floating Action Button is one of the commonly used button components of Material design. In this blog post, let’s learn how to add a border and change the border color of the Floating Action Button in Flutter.
The FloatingActionButton widget has the shape property that helps to change the shape. We can use the same property to add a border. We can also change its color, thickness, etc.
See the code snippet given below.
FloatingActionButton(
onPressed: () {},
shape:
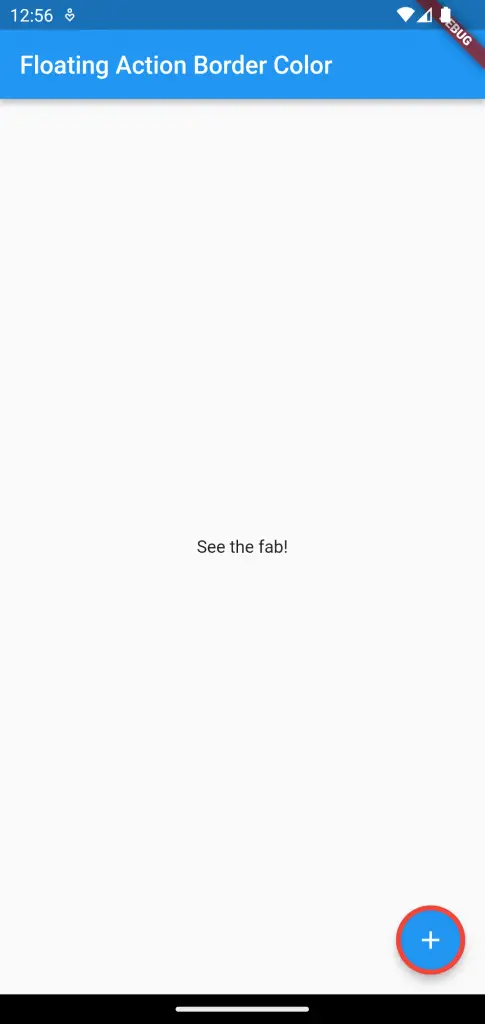
const StadiumBorder(side: BorderSide(color: Colors.red, width: 4)),
child: const Icon(Icons.add),
),As you see, we created the border using the StadiumBorder class. We will get the output with a red color border.
Following is the complete code.
import 'package:flutter/material.dart';

void main() {
  runApp(const MyApp());
}

class MyApp extends StatelessWidget {
  const MyApp({super.key});

  // This widget is the root of your application.
  @override
  Widget build(BuildContext context) {
    return MaterialApp(
      title: 'Flutter Demo',
      theme: ThemeData(
        primarySwatch: Colors.blue,
      ),
      home: const MyHomePage(),
    );
  }
}

class MyHomePage extends StatelessWidget {
  const MyHomePage({super.key});

  @override
  Widget build(BuildContext context) {
    return Scaffold(
      appBar: AppBar(
        title: const Text('Floating Action Border Color'),
      ),
      body: const Center(child: Text('See the fab!')),
      floatingActionButton: FloatingActionButton(
        onPressed: () {},
        shape:
            const StadiumBorder(side: BorderSide(color: Colors.red, width: 4)),
        child: const Icon(Icons.add),
      ),
    );
  }
}
That’s how you add the Floating Action Button border in Flutter.