How to set Image as Background in iOS SwiftUI
In this blog post, we are going to delve into an exciting aspect of SwiftUI that allows us to add a touch of creativity and visual appeal to our user interfaces – using an image as a background. From setting the mood of the application, matching the theme of the content, to enhancing the user experience, an image background can serve a multitude of purposes.
Basics: Setting an Image as a Background
In SwiftUI, you can use the .background() modifier to set an image as a background for any SwiftUI view. Here’s a simple example:
Text("Hello, SwiftUI!")
    .font(.largeTitle)
    .background(
        Image("background")
            .resizable()
            .scaledToFill()
    )
In this example, the text “Hello, SwiftUI!” is displayed with a large title font and an image as its background. The image is made resizable and scaled to fill the area of the text view.
Using ZStack
For more complex views, you might prefer using ZStack to layer your image underneath other views:
ZStack {
    Image("background")
        .resizable()
        .scaledToFill()
    Text("Hello, SwiftUI!")
        .font(.largeTitle)
}
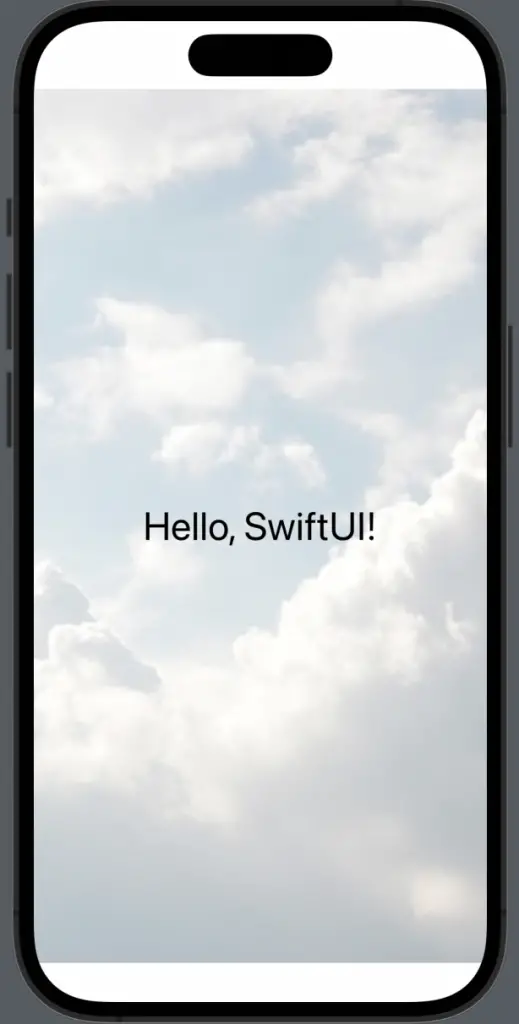
In this case, the image and text are layered on top of each other, with the image at the bottom. The ZStack ensures the image scales to fill the entire background area.
Control Image Opacity
You can control the opacity of your background image using the .opacity() modifier. This can be helpful when you want your background image to be subtle:
ZStack {
    Image("background")
        .resizable()
        .scaledToFill()
        .opacity(0.5)
    Text("Hello, SwiftUI!")
        .font(.largeTitle)
}
Here, the image’s opacity is reduced to 50%, making the image lighter and allowing the text to stand out more clearly.
Using an image as a background in SwiftUI is a potent tool for enhancing the aesthetics and the user experience of your app. With SwiftUI’s easy-to-use modifiers, setting an image background is straightforward and efficient. So, go ahead and let your creativity flow with beautiful background images in your SwiftUI applications.

