How to Integrate ‘Sign in with Google’ in React Native (Android)
Most of the mobile users in this world have atleast one google account. Hence, using Google account to authenticate user is always used in many mobile apps. In this blog post, let’s see how to setup ‘sign in with google’ in react native.
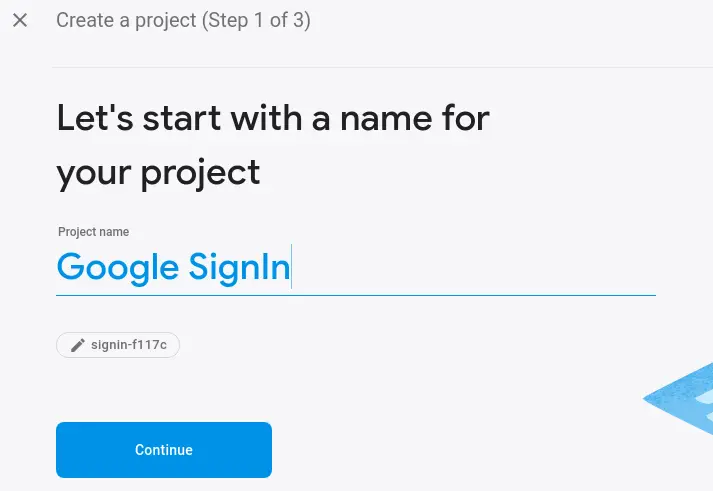
- First of all, go to Firebase console and add a new project. Give your project a name.
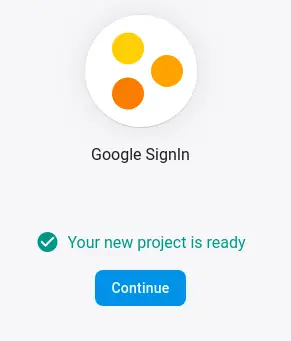
- In the next step, skip adding Google Analytics by clicking Not right now .

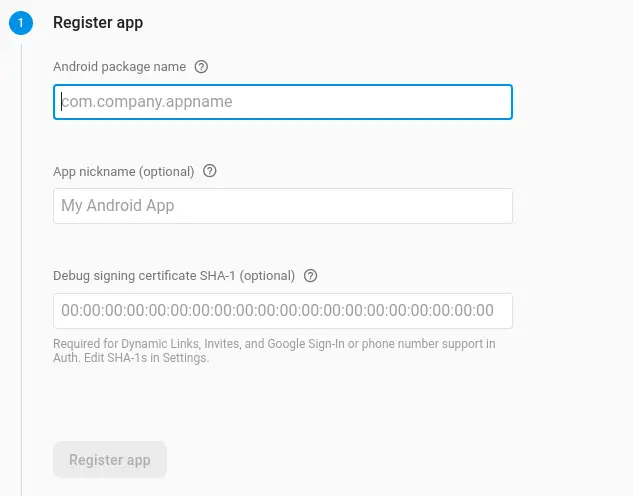
- Continue to the Firebase console and Add Android app from the console.
- Fill all details of the app in the given form. You need to add the SHA1 fingerprint of your app too.
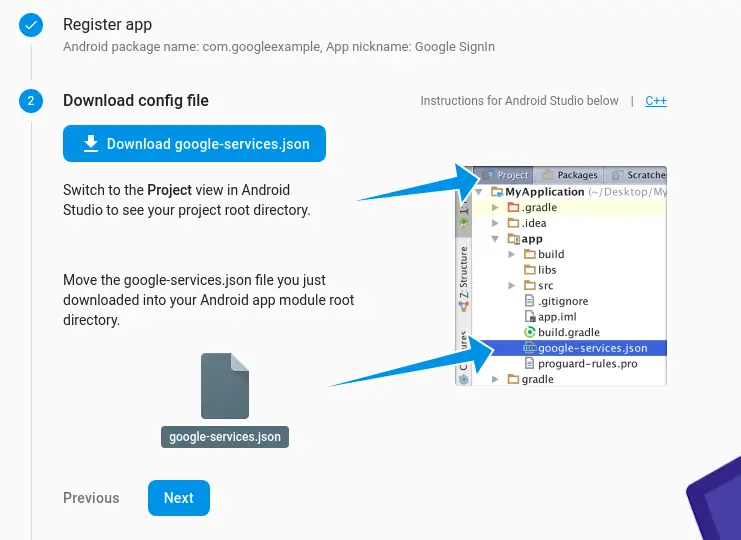
- From the next screen, download google-services.json file and copy and paste the file into YourProject>Android>App path.
- Now, go to your console, choose Authentication and select Sign-in method tab. And enable sign in with google. Also, don’t forget to add support mail.

The part with the Google Firebase is done and now let’s turn to the react native part.
Firstly, install react native google signin library into your react native project using the following command.
yarn add react-native-google-signinAt the time of writing this blog post, this library doesn’t support auto-linking yet. Hence you have to link it manually using the following command.
react-native link react-native-google-signinThings are not over yet, follow remaining instructions for installation- android and ios.
Now, let’s see how the coding part works.
First of all, do all the imports required.
import { GoogleSignin, GoogleSigninButton, statusCodes } from 'react-native-google-signin';GoogleSignin helps you to authentication whereas GoogleSigninButton is a component which shows a beautiful button with ‘signin with google’ text. The statusCodes helps you to identify errors from the response.
GoogleSigninButton is simply a button with few useful props to customize. You can either use the button or you can create a button yourself.

<GoogleSigninButton
            style={styles.googleButton}
            size={GoogleSigninButton.Size.Wide}
            color={GoogleSigninButton.Color.Dark}
            onPress={this.signIn}
          />
The signIn function prompts the user to log in with the google account. The status codes help you to identify issues in login. The constant userInfo has the user details such as email and name.
  signIn = async () => {
    try {
      GoogleSignin.configure();
      await GoogleSignin.hasPlayServices();
      const userInfo = await GoogleSignin.signIn();
      this.setState({userInfo}, () => {
        console.log(this.state.userInfo);
      });
      //log in is success!
    } catch (error) {
      console.log(error);
      if (error.code === statusCodes.SIGN_IN_CANCELLED) {
        // user cancelled the login flow
      } else if (error.code === statusCodes.IN_PROGRESS) {
        // operation (f.e. sign in) is in progress already
      } else if (error.code === statusCodes.PLAY_SERVICES_NOT_AVAILABLE) {
        // play services not available or outdated
      } else {
        // some other error happened
      }
    }
  };
You may also need to check whether the user is already logged in or not.
 isSignedIn = async () => {
    const isSignedIn = await GoogleSignin.isSignedIn();
    if (isSignedIn) {
     //the user is already signed in
    } else {
      //the user is not logged in yet
    }
  };
This is how you can add Google authentication to your react native app.
Great job. Please, go on ok?
Great job. Please, go on ok?