How to Create Arc Shapes in SwiftUI
SwiftUI, Apple’s innovative framework for UI development, enables the creation of custom shapes with relative ease. Among these, arcs are particularly useful for a wide range of applications, from progress bars to custom controls.
In this detailed blog post, we’ll explore how to create and work with arc shapes in SwiftUI.
An arc is a segment of a circle’s circumference. In SwiftUI, you can draw arcs by defining their start and end angles, radius, and how these angles are measured.
Define an Arc Shape
To start, you’ll define a new struct that conforms to the Shape protocol. This requires implementing the path(in:) method.
struct Arc: Shape {
    var startAngle: Angle
    var endAngle: Angle
    var clockwise: Bool

    func path(in rect: CGRect) -> Path {
        var path = Path()
        // Path drawing will go here
        return path
    }
}
Here, we define an Arc struct with properties for startAngle, endAngle, and a clockwise boolean to determine the direction of the arc.
Draw the Arc
Inside the path(in:) method, we use these properties to draw the arc.
func path(in rect: CGRect) -> Path {
    var path = Path()
    let center = CGPoint(x: rect.midX, y: rect.midY)
    let radius = min(rect.width, rect.height) / 2
    let startAngle = startAngle.radians
    let endAngle = endAngle.radians

    path.addArc(center: center, radius: radius, startAngle: Angle(radians: startAngle), endAngle: Angle(radians: endAngle), clockwise: !clockwise)

    return path
}
In this snippet, we calculate the center and radius of the arc based on the provided rectangle. Then, we add an arc to the path using addArc(center:radius:startAngle:endAngle:clockwise:).
Use the Arc in a View
With the arc defined, it can now be used in a SwiftUI view.
struct ContentView: View {
    var body: some View {
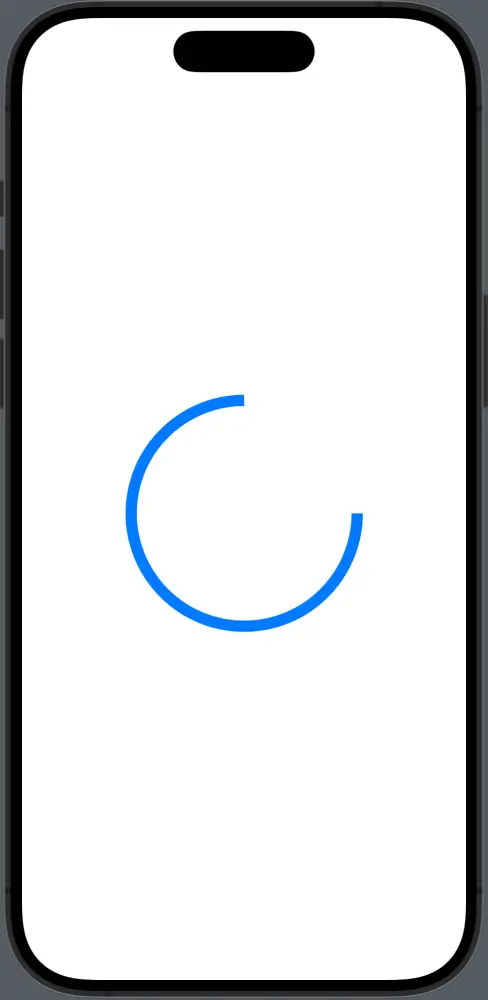
        Arc(startAngle: .degrees(0), endAngle: .degrees(270), clockwise: true)
            .stroke(Color.blue, lineWidth: 10)
            .frame(width: 200, height: 200)
    }
}
Here, the Arc is created with a start angle of 0 degrees and an end angle of 270 degrees. The stroke modifier outlines the arc with a blue line, and frame sets its size.
Style the Arc
SwiftUI allows for extensive styling of shapes. For example, you can create a progress ring by using the arc.
Arc(startAngle: .degrees(-90), endAngle: .degrees(90), clockwise: false)
    .stroke(Color.red, style: StrokeStyle(lineWidth: 20, lineCap: .round))
    .frame(width: 100, height: 100)
The StrokeStyle modifier is used here to give the arc a thicker line width and rounded edges, making it look like a progress indicator.
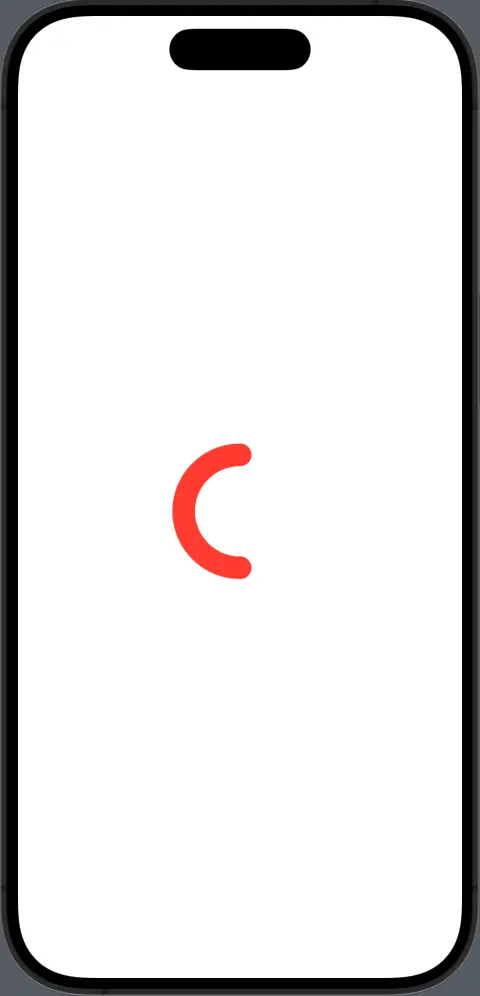
Following is the complete code for reference.
import SwiftUI

struct ContentView: View {
    var body: some View {
        Arc(startAngle: .degrees(-90), endAngle: .degrees(90), clockwise: false)
            .stroke(Color.red, style: StrokeStyle(lineWidth: 20, lineCap: .round))
            .frame(width: 100, height: 100)

    }
}

struct Arc: Shape {
    var startAngle: Angle
    var endAngle: Angle
    var clockwise: Bool

    func path(in rect: CGRect) -> Path {
        var path = Path()
        let center = CGPoint(x: rect.midX, y: rect.midY)
        let radius = min(rect.width, rect.height) / 2
        let startAngle = startAngle.radians
        let endAngle = endAngle.radians

        path.addArc(center: center, radius: radius, startAngle: Angle(radians: startAngle), endAngle: Angle(radians: endAngle), clockwise: !clockwise)

        return path
    }
}

struct ContentView_Previews: PreviewProvider {
    static var previews: some View {
        ContentView()
    }
}
Arcs in SwiftUI are a flexible and powerful tool for drawing parts of circles and can be used for various UI elements like progress bars, dials, or custom controls. By defining a custom Shape, you have full control over the appearance and behavior of your arcs.
This allows for the creation of both functional and visually appealing elements that can significantly enhance the user experience of your app.

