How to Create a Hello World App using Flutter
Yes, we always start learning a new program or development platform by creating a simple Hello World app. In my first ever blog post, I am also starting with that- how to create a hello world app using Flutter.
As you know, Flutter is the new ‘vibe’ among mobile app developers. You can build both android apps as well as ios apps with a single source code. Nowadays, it is extended to the web, Mac, Windows, etc. And it seems Google is pretty serious about it.
You can even create web apps using Flutter. It already started putting up serious competition against hybrid mobile app development platforms such as React Native.
I am not going to tell you how to set up Flutter and create a new project. All those things are very well documented and you can follow them from the Flutter official docs. Setting up Flutter is pretty easy and it’s not rocket science.
I assume you have already created a Flutter project. Now, replace the code of the main.dart file with the following snippet.
import 'package:flutter/material.dart';

void main() => runApp(MyApp());

class MyApp extends StatelessWidget {
  @override
  Widget build(BuildContext context) {
    return MaterialApp(
      title: 'Welcome to Flutter',
      home: Scaffold(
        appBar: AppBar(
          title: Text('My First Flutter App'),
        ),
        body: Center(
          child: const Text('Hello World!'),
        ),
      ),
    );
  }
}
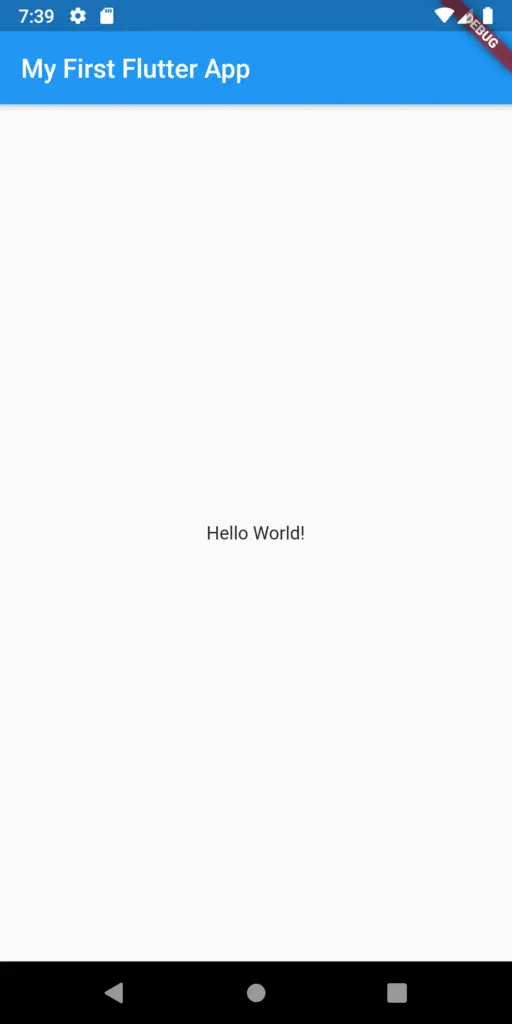
The output will be as given below:

In Flutter, everything is a widget. In this Flutter example, we extend a stateless widget that describes the user interface by combining other widgets. As we don’t need to change compositions dynamically, we used a stateless widget in the above example.
The Scaffold class has APIs such as drawers and bottom sheets whereas AppBar is for showing the header with title, actions, and overflow menu.

