How to Change Button Color When Pressed in iOS SwiftUI
In the world of SwiftUI, buttons are essential components that enable interactivity within our applications. While the default settings work for many scenarios, sometimes you’ll want to customize how a button behaves or appears.
One common customization is changing the button’s color when it is pressed. This tutorial will guide you through how to implement this feature using SwiftUI.
Why Change Button Color?
First, let’s discuss why you might want to change a button’s color when pressed. In app development, providing visual feedback to users is crucial. When users press a button, providing immediate feedback makes the app feel more responsive and intuitive.
By changing a button’s color when pressed, you can enhance the user’s experience by making your app more interactive and engaging.
Understand SwiftUI’s Button
Before we dive into the actual color change, let’s take a quick refresher on SwiftUI’s Button component. A button in SwiftUI is a simple, user-triggered action mechanism. Here is a simple example of a SwiftUI button:
Button(action: {
    print("Button was tapped")
}) {
    Text("Tap me")
}
In this code, “Button” creates the button, the “action” argument is the function to be called when the button is tapped, and the “Text” inside the curly braces is what’s displayed on the button.
Change Button Color When Pressed
Now, let’s get to the main event: changing the button color when it’s pressed. We’ll do this by creating a custom ButtonStyle.
Here’s how:
struct PressedButtonStyle: ButtonStyle {
    func makeBody(configuration: Self.Configuration) -> some View {
        configuration.label
            .padding()
            .background(configuration.isPressed ? Color.red : Color.blue)
            .foregroundColor(.white)
            .cornerRadius(10)
    }
}
In this code, PressedButtonStyle is a struct that conforms to the ButtonStyle protocol. makeBody(configuration:) is a required function that describes the view’s appearance. The button’s background color is changed based on whether the button is pressed, as indicated by configuration.isPressed.
To apply this custom style, modify the Button as follows:
Button(action: {
    print("Button was tapped")
}) {
    Text("Tap me")
}.buttonStyle(PressedButtonStyle())
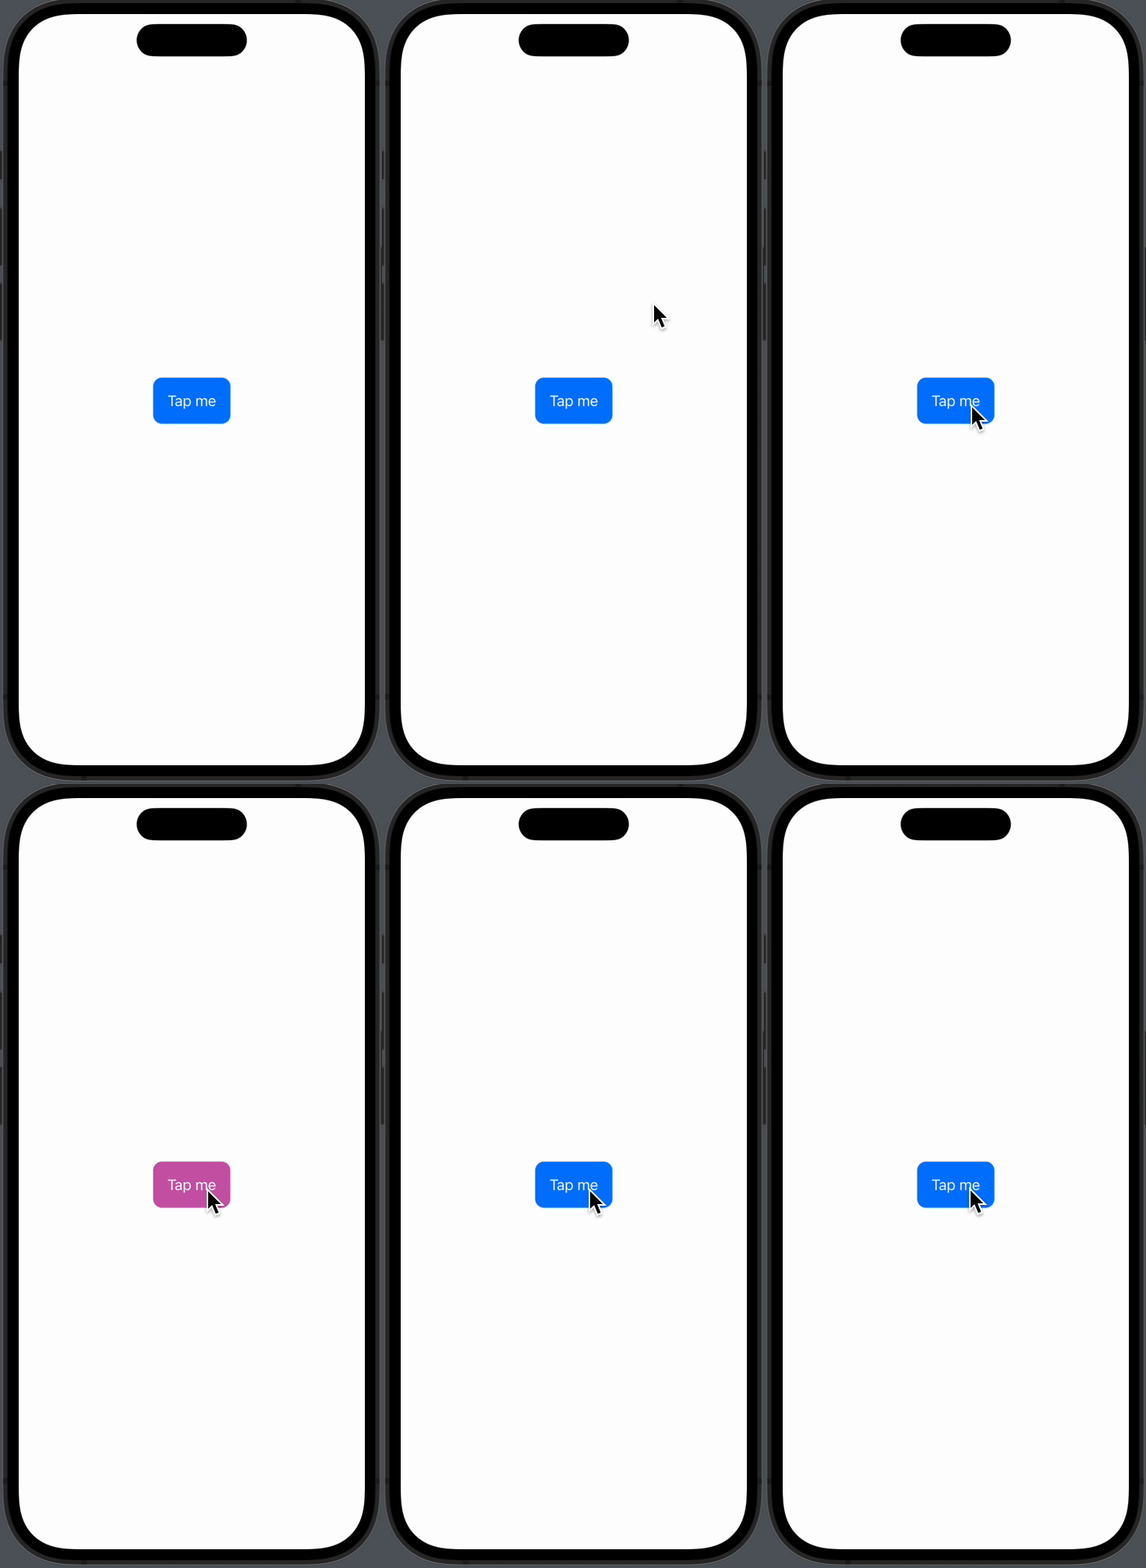
Now, the button will turn red when pressed and revert back to blue when released.

In SwiftUI, changing a button’s color when pressed is an effective way to provide visual feedback to your users. By creating a custom ButtonStyle, you can easily manipulate the color of a button based on its pressed state. Remember, a successful app is as much about the user experience as it is about functionality.


