How to add OutlinedButton in Flutter
The OutlinedButton is one of the newly added button widgets in Flutter. It replaced the old Outline Button. In this blog post, let’s learn how to add OutlinedButton in Flutter.
The OutlinedButton widget helps to create buttons whose actions are important but not primary. See the following code snippet.
OutlinedButton(
          onPressed: () {},
          child: const Text('Outlined Button'),
        )
The complete code is given below.
import 'package:flutter/material.dart';

void main() {
  runApp(const MyApp());
}

class MyApp extends StatelessWidget {
  const MyApp({super.key});

  // This widget is the root of your application.
  @override
  Widget build(BuildContext context) {
    return MaterialApp(
      title: 'Flutter Demo',
      theme: ThemeData(
        primarySwatch: Colors.blue,
      ),
      home: const MyHomePage(),
    );
  }
}

class MyHomePage extends StatelessWidget {
  const MyHomePage({super.key});

  @override
  Widget build(BuildContext context) {
    return Scaffold(
        appBar: AppBar(
          title: const Text('Flutter OutlinedButton Example'),
        ),
        body: Center(
            child: OutlinedButton(
          onPressed: () {},
          child: const Text('Outlined Button'),
        )));
  }
}
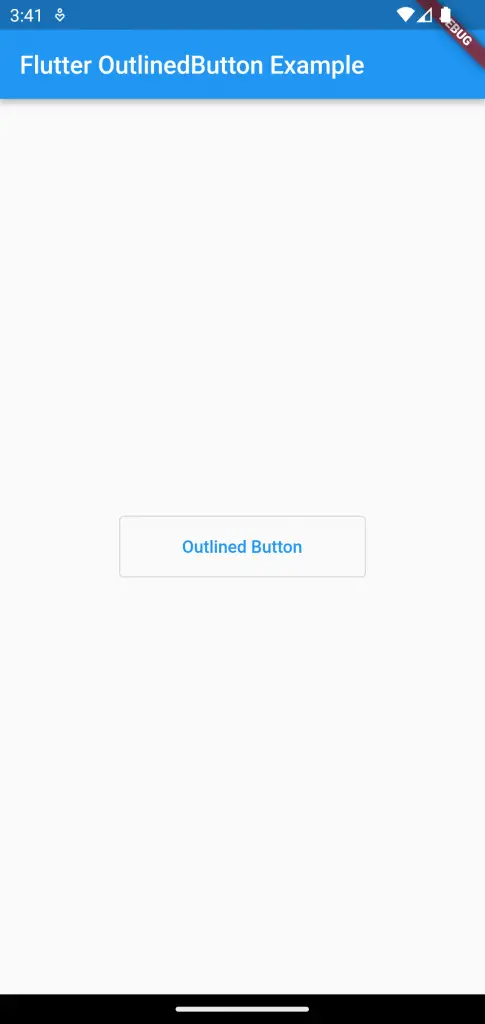
You will get the following output.
OutlinedButton Width and Height
By default, the OutlinedButton size depends on the size of the child. Sometimes, you want to give a fixed size to it. You can make use of OutlinedButton.styleFrom method and using fixedSize parameter you can change the width and height of the button.
See the code snippet given below.
OutlinedButton(
          onPressed: () {},
          style: OutlinedButton.styleFrom(fixedSize: const Size(200, 50)),
          child: const Text('Outlined Button'),
        )
You will get the following output.
That’s how yo change width and height of the OutlinedButton.