How to Create Ripple Effect in Flutter
When we hear material design one thing we easily associate with it is ripple effect. The ripple effects are extremely useful in the user interface as they can visually inform the user that some action like a button click has occurred.
In this blog post, let’s check how to create a ripple effect in Flutter.
It’s pretty easy. All you need is to use the InkWell widget. The InkWell widget is basically a rectangular area that responds to touch with ripples. You just wrap the InkWell widget with something tappable then the ripple effect is ready.
Just see the following Flutter example.
import 'package:flutter/material.dart';

void main() {
  runApp(const MyApp());
}

class MyApp extends StatelessWidget {
  const MyApp({super.key});

  // This widget is the root of your application.
  @override
  Widget build(BuildContext context) {
    return MaterialApp(
      title: 'Flutter Demo',
      theme: ThemeData(
        primarySwatch: Colors.blue,
      ),
      home: const MyHomePage(),
    );
  }
}

class MyHomePage extends StatelessWidget {
  const MyHomePage({super.key});

  @override
  Widget build(BuildContext context) {
    return Scaffold(
      appBar: AppBar(
        title: const Text(
          'Flutter Ripple Effect Example',
        ),
      ),
      body: Center(
        child: InkWell(
          onTap: () {},
          child: Container(
            padding: const EdgeInsets.all(12.0),
            child: const Text('Flat Button'),
          ),
        ),
      ),
    );
  }
}
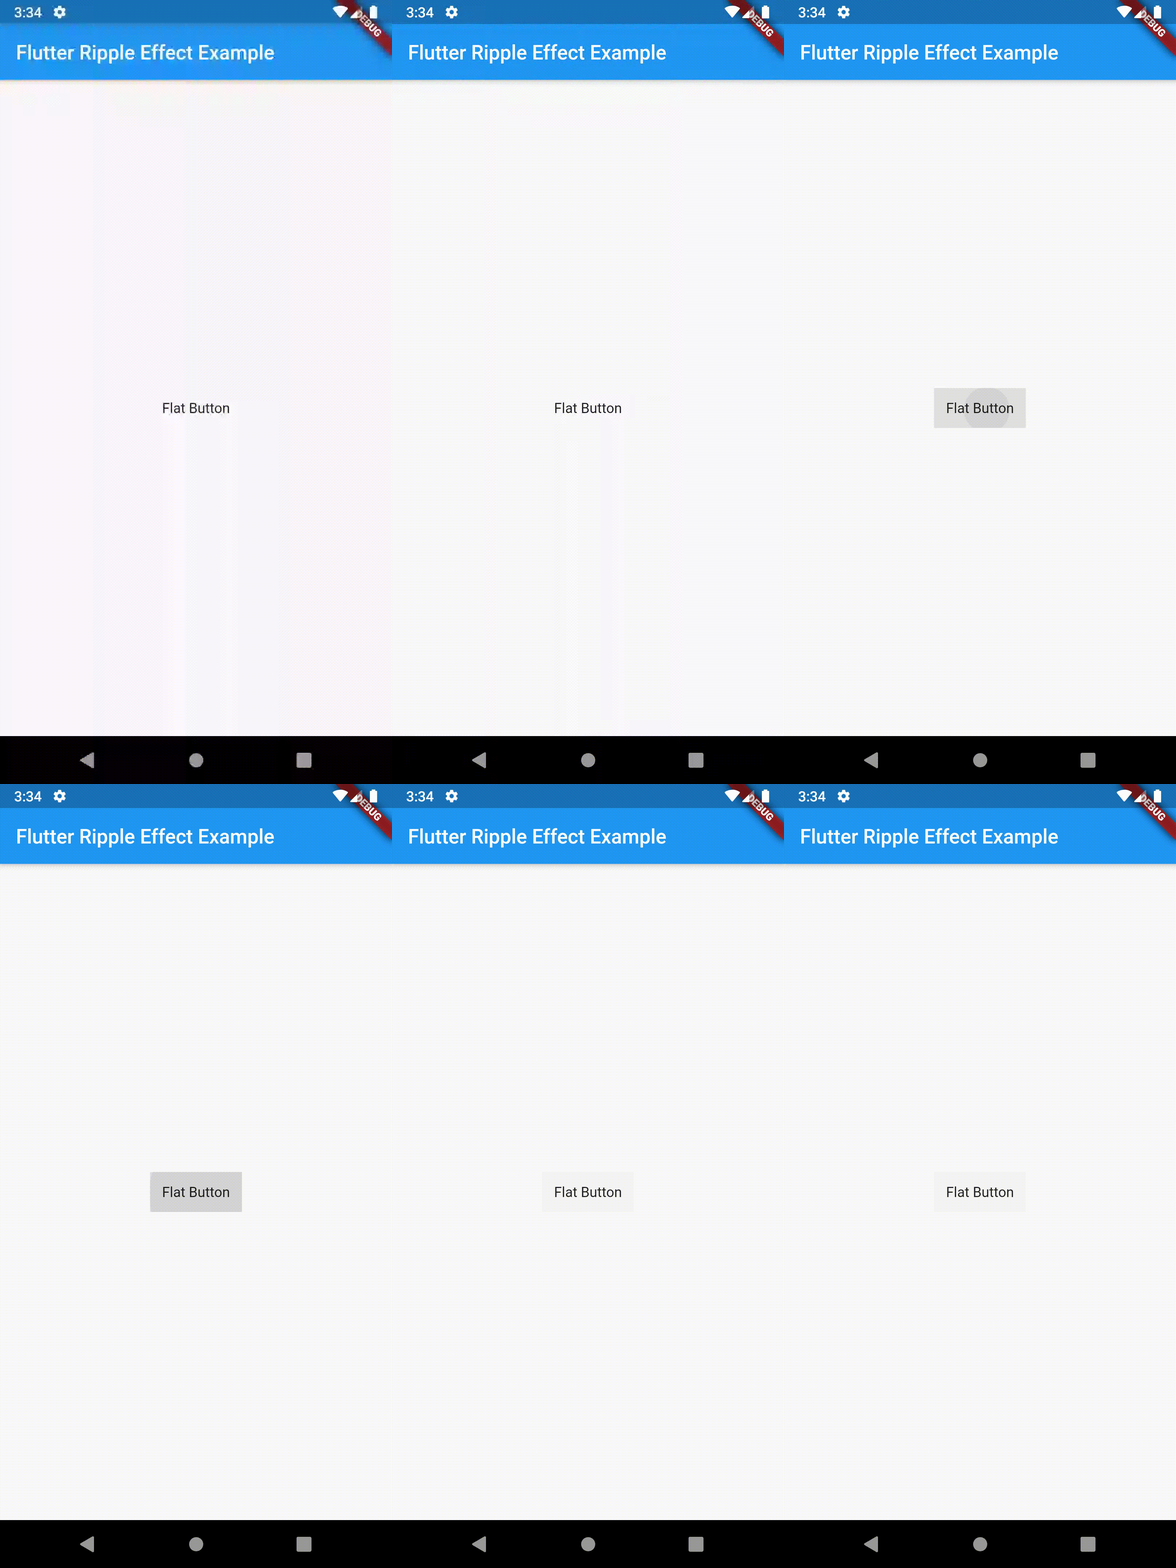
And following is the output of the example.

I hope this Flutter tutorial will help you. Thank you for reading!