How to Create Gradient Text in iOS SwiftUI
Text is a fundamental element in any iOS app, and sometimes you may want to make it more visually appealing. One way to do that is by applying a gradient to your text.
In this blog post, we’ll explore how to create gradient text in SwiftUI, using a simple example.
Create Gradient Text
Example Code
import SwiftUI

struct ContentView: View {
    var body: some View {
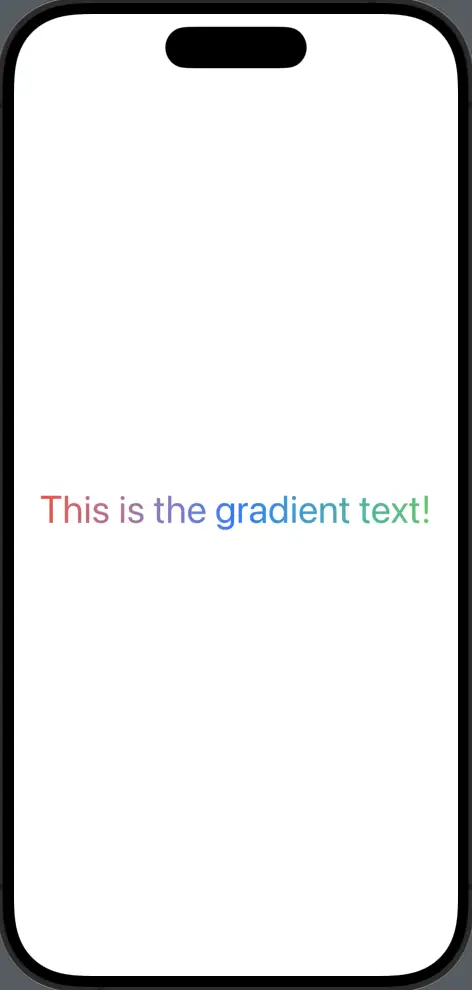
        Text("This is the gradient text!")
            .font(.largeTitle)
            .foregroundStyle(
                LinearGradient(
                    colors: [.red, .blue, .green],
                    startPoint: .leading,
                    endPoint: .trailing
                )
            )
    }
}
Code Explanation
Text("This is the gradient text!"): This is the text element to which we’ll apply the gradient..font(.largeTitle): We set the font style tolargeTitleto make the text more prominent..foregroundStyle(): This is where the magic happens. We use this modifier to apply a linear gradient as the foreground style of the text.LinearGradient(colors: [.red, .blue, .green], startPoint: .leading, endPoint: .trailing): We define a linear gradient with red, blue, and green colors, starting from the leading edge and ending at the trailing edge of the text.
Why Use Gradient Text?
Here are some reasons why you might want to use gradient text in your app:
- Visual Appeal: Gradient text can make your app more visually engaging.
- Highlighting Elements: You can use gradient text to draw attention to specific text elements in your app.
- Branding: Custom gradient styles can be aligned with your brand’s color scheme, providing a more cohesive user experience.
Things to Consider
- Readability: Make sure the gradient colors you choose do not compromise the readability of the text.
- Compatibility: Gradient text is a modern feature, so ensure it fits well with the overall design language of your app.
Creating gradient text in SwiftUI is a straightforward process, thanks to the powerful .foregroundStyle() modifier. By using this feature, you can make your text elements more visually appealing and aligned with your brand’s design language.
