How to add ListView Swipe to Delete Option in Flutter
Swipe to delete is a good feature for users especially when you are showing a lot of items as a list. It makes the user interface of your mobile app more user-friendly. In this blog post, let’s discuss how to add the swipe to delete option in a ListView in Flutter.
I already have a blog post on how to implement ListView in Flutter. The Flutter widget which is used to enable the swipe to dismiss option is Dismissible. You just need to wrap your item with the Dismissible widget. It accepts so many properties that you can customize its look and behavior.
You can use onDismissed property to define actions after swiping gesture. For a better understanding go through the following code snippet.
ListView.builder(
        itemCount: data.length,
        itemBuilder: (BuildContext context, int index) {
          return Dismissible(
            background: Container(color: Colors.red),
            key: Key(data[index]),
            child: Container(
              height: 150,
              color: Colors.white,
              child: Center(
                  child: Text(
                data[index],
                style: const TextStyle(fontSize: 30),
              )),
            ),
            onDismissed: (direction) {
              // Remove the item from the data source.
              setState(() {
                data.removeAt(index);
              });
              debugPrint(data.toString());
              ScaffoldMessenger.of(context).showSnackBar(
                  SnackBar(content: Text("Item ${data[index]} dismissed")));
            },
          );
        })
When an item is swiped, we remove that item from the data. A Snackbar would also appear after swiping.
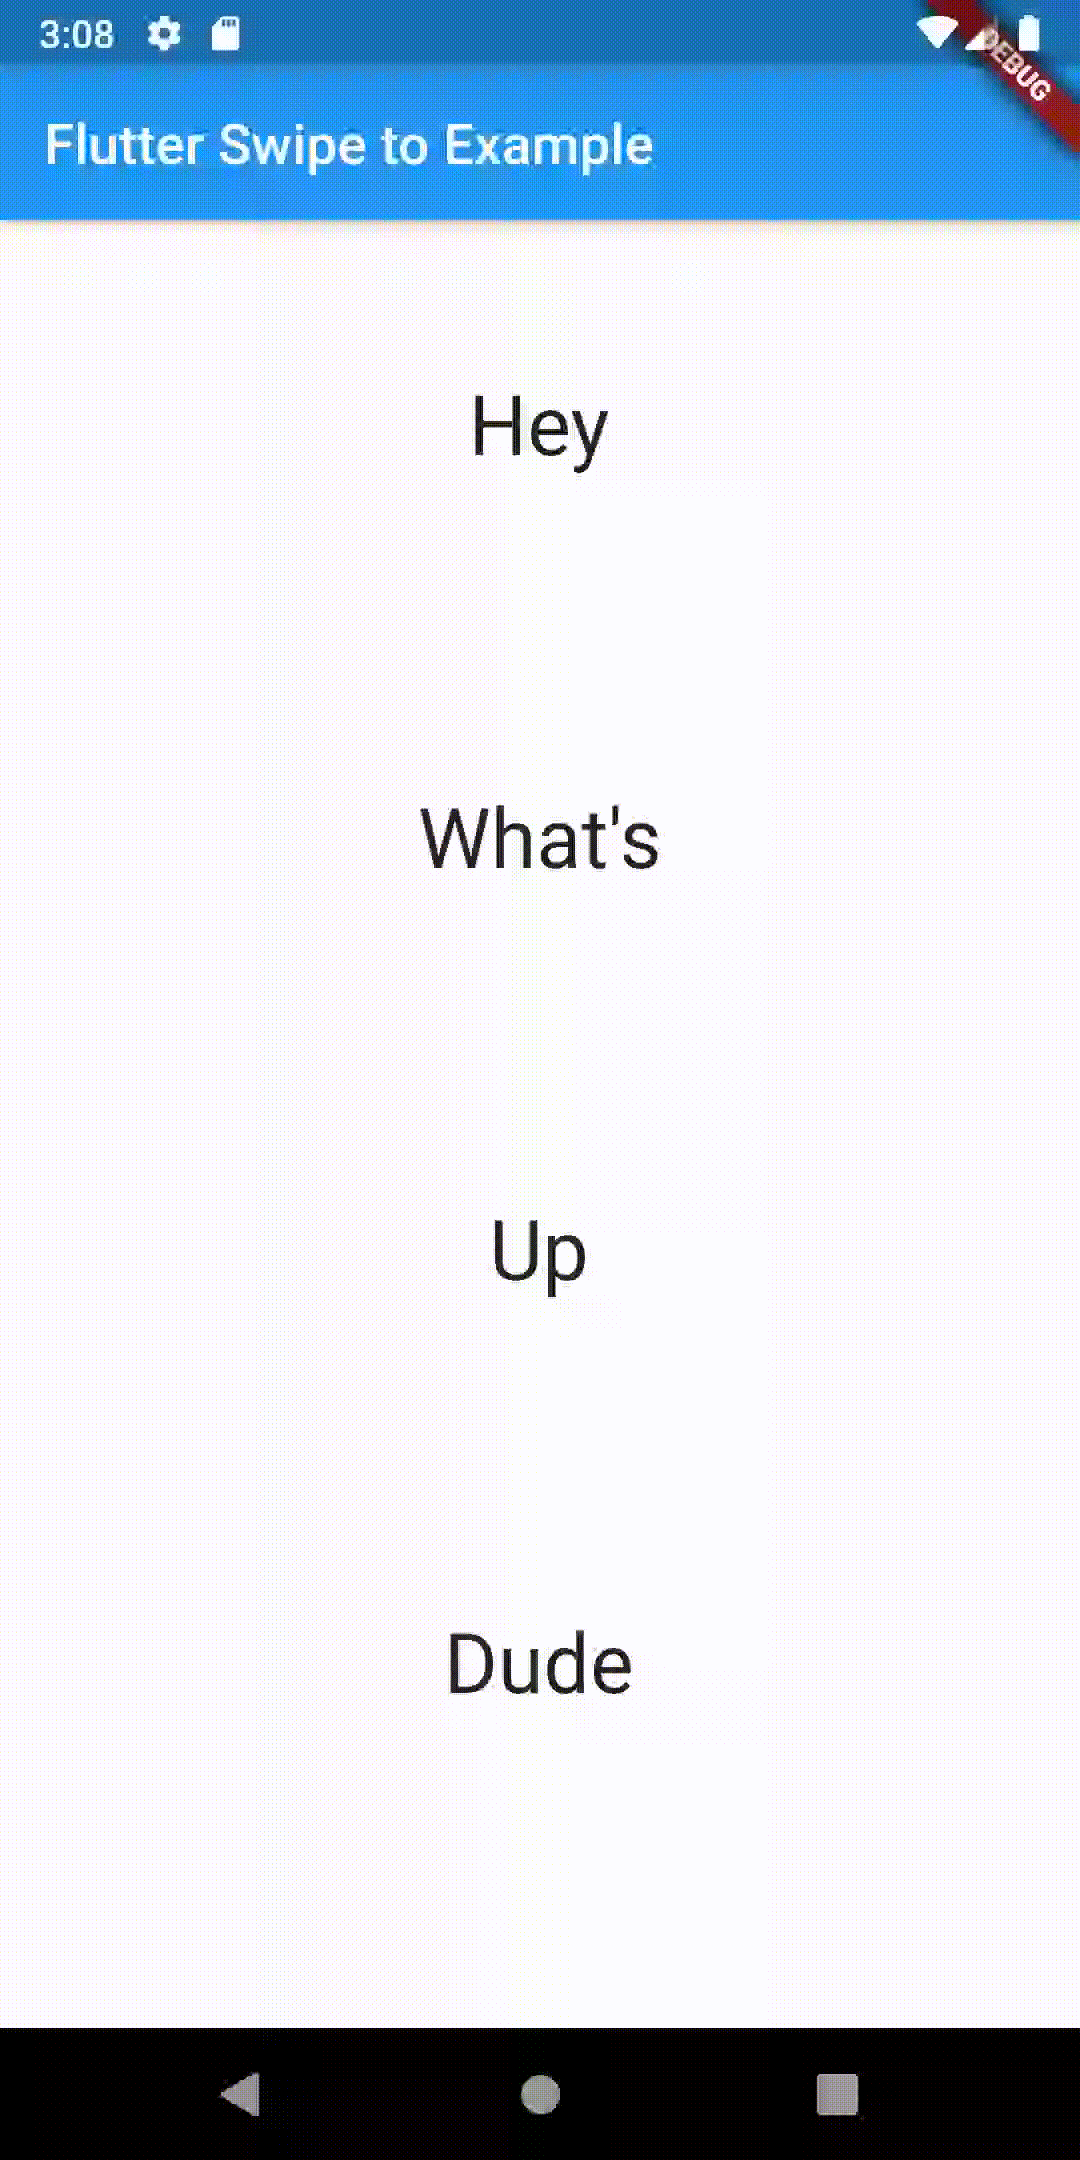
Following is the output.
Following is the complete Flutter example of a ListView with a swipe-to-delete option.
import 'package:flutter/material.dart';

void main() {
  runApp(const MyApp());
}

class MyApp extends StatelessWidget {
  const MyApp({super.key});

  @override
  Widget build(BuildContext context) {
    return MaterialApp(
      title: 'Flutter Demo',
      theme: ThemeData(
        primarySwatch: Colors.blue,
      ),
      home: const MyHomePage(),
    );
  }
}

class MyHomePage extends StatelessWidget {
  const MyHomePage({super.key});

  @override
  Widget build(BuildContext context) {
    return Scaffold(
        appBar: AppBar(
          title: const Text('Flutter Checkbox Example'),
        ),
        body: const MyStatefulWidget());
  }
}

class MyStatefulWidget extends StatefulWidget {
  const MyStatefulWidget({super.key});

  @override
  State<MyStatefulWidget> createState() => _MyStatefulWidgetState();
}

class _MyStatefulWidgetState extends State<MyStatefulWidget> {
  var data = [
    "Hey",
    "What's",
    "Up",
    "Dude",
    "This",
    "is",
    "a",
    "Flutter",
    "example",
    "got",
    "it"
  ];

  @override
  Widget build(BuildContext context) {
    return ListView.builder(
        itemCount: data.length,
        itemBuilder: (BuildContext context, int index) {
          return Dismissible(
            background: Container(color: Colors.red),
            key: Key(data[index]),
            child: Container(
              height: 150,
              color: Colors.white,
              child: Center(
                  child: Text(
                data[index],
                style: const TextStyle(fontSize: 30),
              )),
            ),
            onDismissed: (direction) {
              // Remove the item from the data source.
              setState(() {
                data.removeAt(index);
              });
              debugPrint(data.toString());
              ScaffoldMessenger.of(context).showSnackBar(
                  SnackBar(content: Text("Item ${data[index]} dismissed")));
            },
          );
        });
  }
}
I hope this Flutter tutorial will help you. Thank you for reading.