How to Add Floating Action Button in Flutter
The Floating Action Button, fab, is an important component of the material design user interface. It is a circular button that usually floats above the right bottom of the screen. A fab is used for triggering primary actions such as create, edit, etc.
In this blog post, let’s learn how to create a floating action button in Flutter.
See the code snippet given below.
import 'package:flutter/material.dart';

void main() {
  runApp(const MyApp());
}

class MyApp extends StatelessWidget {
  const MyApp({super.key});

  // This widget is the root of your application.
  @override
  Widget build(BuildContext context) {
    return MaterialApp(
      title: 'Flutter Demo',
      theme: ThemeData(
        primarySwatch: Colors.blue,
      ),
      home: const MyHomePage(),
    );
  }
}

class MyHomePage extends StatelessWidget {
  const MyHomePage({super.key});

  @override
  Widget build(BuildContext context) {
    return Scaffold(
      appBar: AppBar(
        title: const Text('Floating Action Button Example'),
      ),
      body: const Center(child: Text('See the fab!')),
      floatingActionButton: FloatingActionButton(
        onPressed: () {},
        backgroundColor: Colors.blue,
        child: const Icon(Icons.add),
      ),
    );
  }
}
The output is as given below:

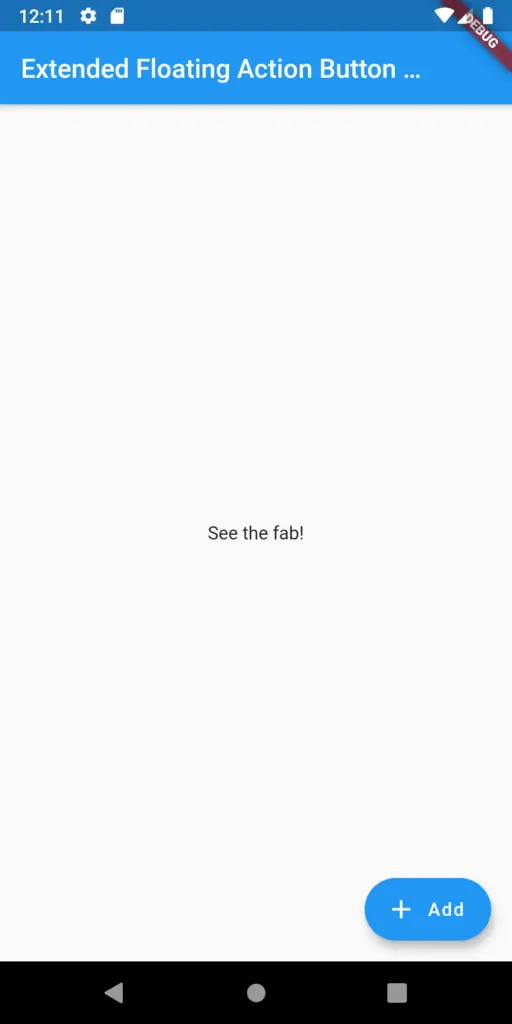
You can also use the extended floating action button in Flutter. In such fab, you can add labels also. See the following example of the extended floating action button.
import 'package:flutter/material.dart';

void main() {
  runApp(const MyApp());
}

class MyApp extends StatelessWidget {
  const MyApp({super.key});

  // This widget is the root of your application.
  @override
  Widget build(BuildContext context) {
    return MaterialApp(
      title: 'Flutter Demo',
      theme: ThemeData(
        primarySwatch: Colors.blue,
      ),
      home: const MyHomePage(),
    );
  }
}

class MyHomePage extends StatelessWidget {
  const MyHomePage({super.key});

  @override
  Widget build(BuildContext context) {
    return Scaffold(
      appBar: AppBar(
        title: const Text('Extended Floating Action Button Example'),
      ),
      body: const Center(child: Text('See the fab!')),
      floatingActionButton: FloatingActionButton.extended(
        onPressed: () {},
        icon: const Icon(Icons.add),
        label: const Text('Add'),
        backgroundColor: Colors.blue,
      ),
    );
  }
}
Output:
That’s how you add a floating action button in Flutter. I hope you find this tutorial helpful.