How to Add Bottom Tab Navigator in React Native (TypeScript)
If there were no libraries such as react navigation, navigation in react native would have been an uphill task. In this blog post, you can learn how to create a bottom tab navigator in your react native project.
First of all, I recommend you install react navigation into your react native project by following the instructions given here.
After that install react navigation bottom tabs using any of the following commands.
npm install @react-navigation/bottom-tabsor
yarn add @react-navigation/bottom-tabsBesides this, I also suggest you to install react native vector icons library by following the instructions given here. It helps us to add icons to the bottom tabs easily.
Also, install the types for react native vector icons using the following command.
npm i --save-dev @types/react-native-vector-iconsLet’s create three screens namely Screen1.tsx, Screen2.tsx and Screen3.tsx.
The code of Screen1.tsx is given below.
import {Text, View} from 'react-native';
import React from 'react';

const Screen1 = () => {
  return (
    <View>
      <Text>screen1</Text>
    </View>
  );
};

export default Screen1;
In the same way, apply code to Screen2.tsx and Screen3.tsx.
Then create a file named types.ts and add the following code.
export type BottomTabParamList = {
  Screen1: undefined;
  Screen2: undefined;
  Screen3: undefined;
};
Let’s come to App.tsx.
import React from 'react';
import {NavigationContainer} from '@react-navigation/native';
import {createBottomTabNavigator} from '@react-navigation/bottom-tabs';
import Ionicons from 'react-native-vector-icons/Ionicons';
import {BottomTabParamList} from './types';
import Screen1 from './Screen1';
import Screen2 from './Screen2';
import Screen3 from './Screen3';

const Tab = createBottomTabNavigator<BottomTabParamList>();

const App = () => {
  return (
    <NavigationContainer>
      <Tab.Navigator
        screenOptions={({route}) => ({
          tabBarIcon: ({color, size}) => {
            let iconName;
            if (route.name === 'Screen1') {
              iconName = 'home';
            } else if (route.name === 'Screen2') {
              iconName = 'man';
            } else {
              iconName = 'settings';
            }
            return <Ionicons name={iconName} size={size} color={color} />;
          },
          tabBarActiveTintColor: 'green',
          tabBarInactiveTintColor: 'gray',
        })}>
        <Tab.Screen name="Screen1" component={Screen1} />
        <Tab.Screen name="Screen2" component={Screen2} />
        <Tab.Screen name="Screen3" component={Screen3} />
      </Tab.Navigator>
    </NavigationContainer>
  );
};

export default App;
The createBottomTabNavigator function is used to create a new tab navigator and the imported type BottomTabParamList is passed as a generic.
The tab navigator has a screenOptions prop that sets the icon, active and inactive tint color for the tab bar. The icon is determined by the route’s name.
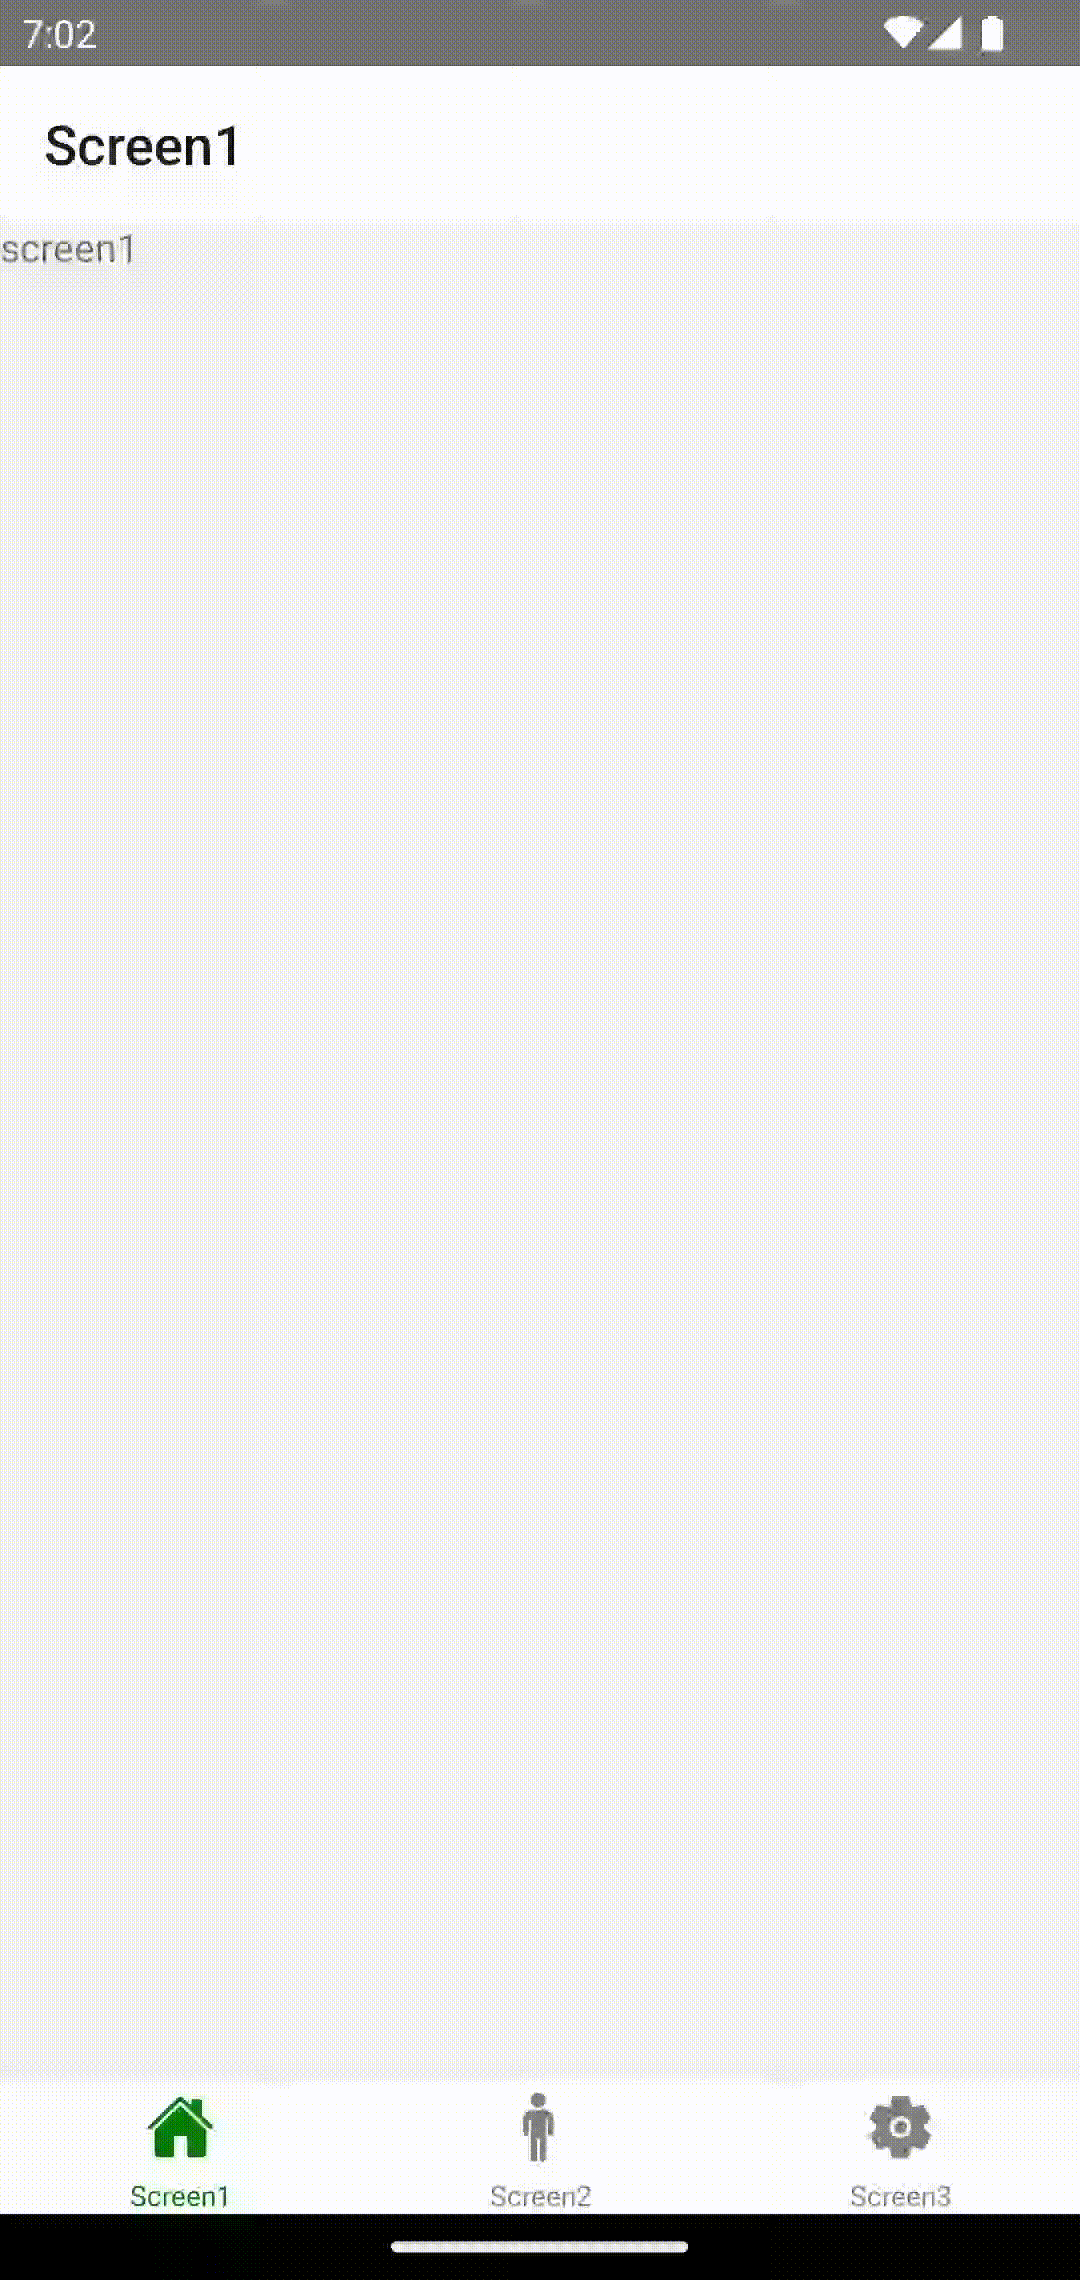
Following is the output.
That’s how you add bottom tab navigation using typescript in react native.
If you want to create a bottom tab navigator nested with a stack navigator then do check my blog post here.