How to Navigate from One Screen to Another in Flutter
Navigation is a very important aspect of mobile apps. Literally, we can’t create helpful mobile apps without navigation. In this blog post, let’s check how to navigate between screens in Flutter.
We call full-screen views of a mobile app the screens, but in Flutter, they are called routes. The navigation in Flutter is done by the Navigator widget. Navigator considers routes as stacks and manages them wisely.
You can easily navigate from one screen to another with the following snippet.
Navigator.of(context).push(
    MaterialPageRoute(
      builder: (context) => const SecondScreen(),
    ),
  );
And you can navigate back by using the code snippet below.
Navigator.pop(context);Navigate to a New Screen on Button Click in Flutter
Let’s create a simple example to demonstrate navigating between two screens in Flutter.
Let’s use the main.dart as our first screen. We create another dart file named second_screen.dart file and add the following code.
import 'package:flutter/material.dart';

class SecondScreen extends StatelessWidget {
  const SecondScreen({super.key});
  @override
  Widget build(BuildContext context) {
    return Scaffold(
      appBar: AppBar(
        title: const Text('Second Screen'),
      ),
      body: const Center(
        child: Text('Welcome to the Second Screen'),
      ),
    );
  }
}
Now, you need to import the second_screen.dart file in the main.dart file to have access to the SecondScreen class.
Add an interactive widget, such as an ElevatedButton, to the body to allow users to initiate navigation. You can place this button inside a Center widget or another layout widget of your choice.
Inside the onPressed() callback of the ElevatedButton, use the Navigator.of(context).push() method to navigate from the HomeScreen to the DetailsScreen. MaterialPageRoute defines the destination screen.
See the complete code for the main.dart file.
import 'package:flutter/material.dart';
import './second_screen.dart';

void main() => runApp(const MyApp());

class MyApp extends StatelessWidget {
  const MyApp({super.key});

  @override
  Widget build(BuildContext context) {
    return MaterialApp(
        title: 'Flutter Demo',
        theme: ThemeData(
          useMaterial3: true,
        ),
        home: const MyHomePage());
  }
}

class MyHomePage extends StatelessWidget {
  const MyHomePage({super.key});

  @override
  Widget build(BuildContext context) {
    return Scaffold(
      appBar: AppBar(
        title: const Text(
          'Flutter Example',
        ),
      ),
      body: Center(
        child: ElevatedButton(
          child: const Text('Go to Second Screen'),
          onPressed: () {
            Navigator.of(context).push(
              MaterialPageRoute(
                builder: (context) => const SecondScreen(),
              ),
            );
          },
        ),
      ),
    );
  }
}
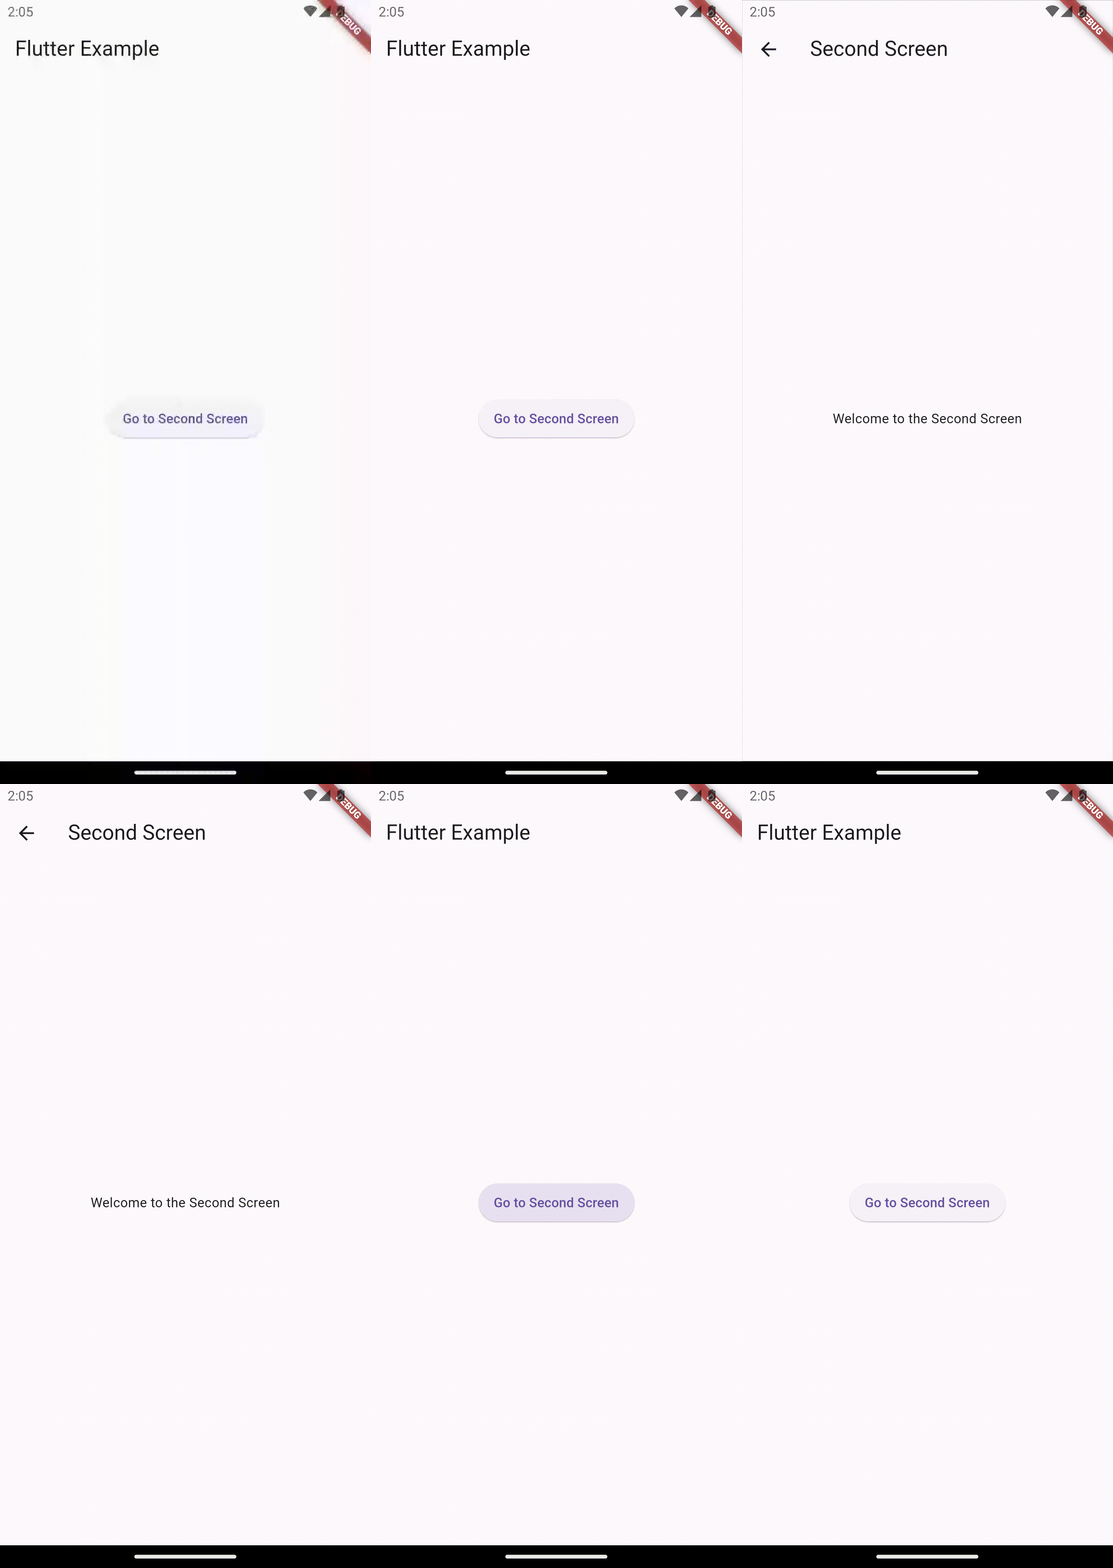
Following is the output.

Back Navigation in Flutter
You can use the arrow button of the AppBar to navigate back to the first screen. But, sometimes we may want to set up the back navigation ourselves.
Modify second_screen.dart file and add an ElevatedButton to it. Inside the onPressed() callback of the back button or the ElevatedButton, use the Navigator.pop() method to navigate back from the SecondScreen to the first screen.
The Navigator.pop() method takes the current BuildContext as its argument. See the modified code given below.
import 'package:flutter/material.dart';

class SecondScreen extends StatelessWidget {
  const SecondScreen({super.key});
  @override
  Widget build(BuildContext context) {
    return Scaffold(
      appBar: AppBar(
        title: const Text('Second Screen'),
      ),
      body: Center(
        child: ElevatedButton(
          child: const Text('Go back to Home Screen'),
          onPressed: () {
            Navigator.pop(context);
          },
        ),
      ),
    );
  }
}
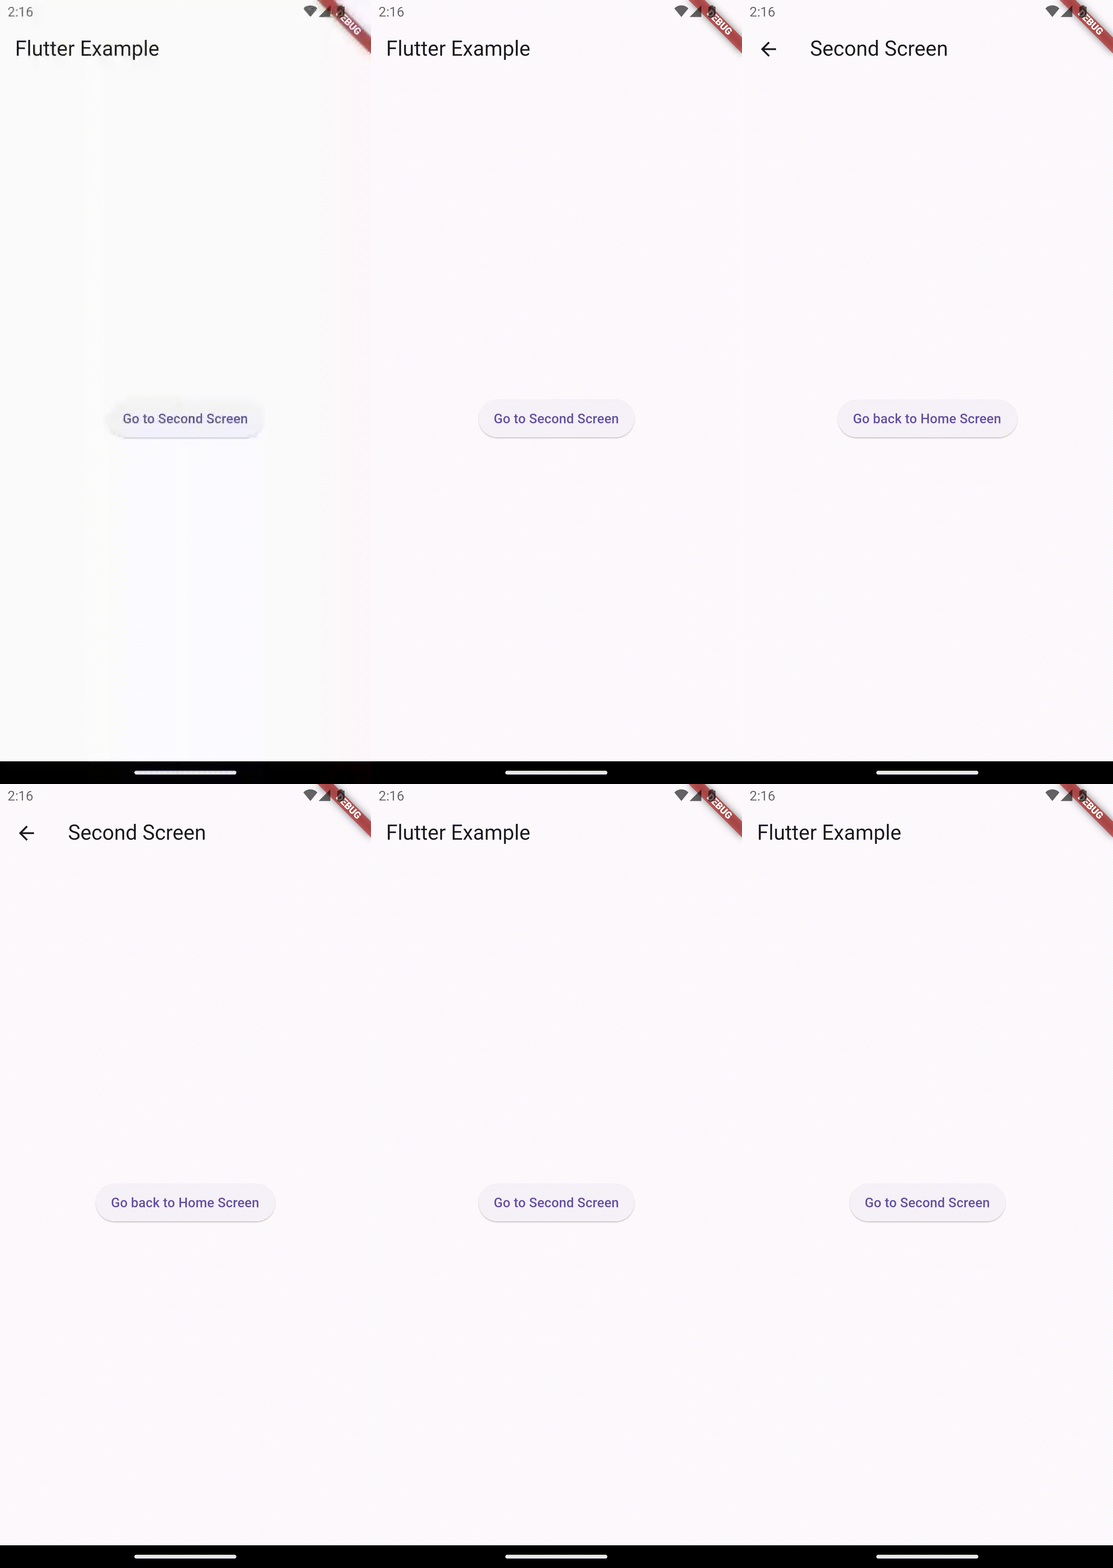
Now, you can navigate back to the first screen from the second screen by pressing the button. The output is given below.

In this tutorial, we learned how to navigate between two screens in a Flutter app using the Navigator widget. We created a simple example with two screens and demonstrated how to use Navigator.push() and Navigator.pop() methods to navigate forward and backward between the screens.