How to create Radio Button in React Native
The radio button helps users to choose an option from a set of options. As you know, react native doesn’t have a dedicated radio button component. Let’s check how to add a radio button in react native.
In this tutorial, I am using a third-party library named react native radio buttons group to create radio buttons. You can install the library using any of the commands given below.
npm i react-native-radio-buttons-group --saveor
yarn add react-native-radio-buttons-groupFollowing is the basic react native radio button example.
import React, {useState} from 'react';
import {StyleSheet, View} from 'react-native';
import RadioGroup from 'react-native-radio-buttons-group';

const radioButtonsData = [
  {
    id: '1',
    label: 'Male',
    value: 'option1',
    color: 'red',
    selected: true,
  },
  {
    id: '2',
    label: 'Female',
    value: 'option2',
    color: 'red',
    selected: false,
  },
];

const App = () => {
  const [radioButtons, setRadioButtons] = useState(radioButtonsData);

  const onPressRadioButton = radioButtonsArray => {
    console.log(radioButtonsArray);
    setRadioButtons(radioButtonsArray);
  };
  return (
    <View style={styles.container}>
      <RadioGroup
        radioButtons={radioButtons}
        onPress={onPressRadioButton}
        layout="row"
      />
    </View>
  );
};

export default App;

const styles = StyleSheet.create({
  container: {
    flex: 1,
    justifyContent: 'center',
    alignItems: 'center',
  },
  image: {
    width: 350,
    height: 200,
  },
});
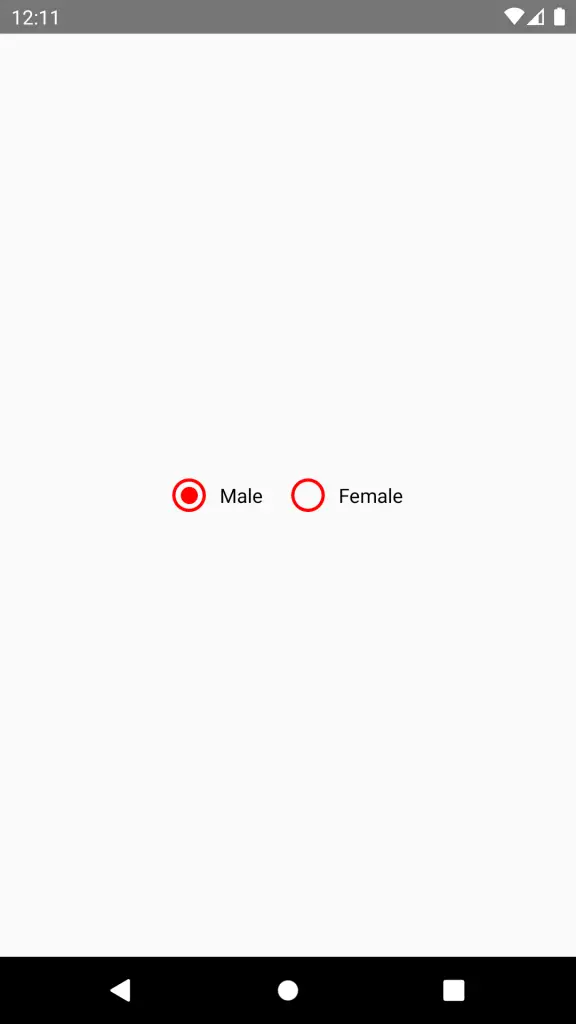
As you see, the radioButtonsData is a JSON array with the radio button details. It determines the number of radio buttons as well as their properties. The key selected of radioButtonsData turns true when the radio button is pressed. Following is the output of the above example.

That’s it. I hope this react native radio button example will help you.